
Mobility – Strength – Skill
To maximize your potential, capacity and efficiency for Rope Climbs you must master it’s specific mobility, strength and skill demands: the three-headed monster every athlete must conquer. Let’s take on the monster one “head” at a time.
Mobility Requirements
There are three key positions requiring mobility in the Rope Climb.
1) Hanging: You must be able to grasp the rope and hang with arms overhead while being pain free.
Examples of stretches to improve this…
• Elevated Cat Pose
• T-Spine Opener
• Banded Lat Stretch
2) Knees-to-Elbows [see demo]: You need to be flexible enough through the hamstrings and low back to fold your hip shut and perform a knees-to-elbows. Obviously, there is also a strength component here.
3) Supinated Grip: This is often overlooked in the rope climb. Many people experience medial elbow pain when climbing with a supinated grip (palms facing towards them). This is often caused by a lack of range of motion in that supinated position. This is likely due to Functional Fitness having a lot of movements with a pronated grip (pull-ups & barbell movements).
Strength Requirements
In order to solidly hit the positions needed and be safe the following strength minimums are suggested:
1) 60s Dead Hang: This is largely a test for grip strength, you should not be falling off the rope.
2) 3 Strict Knees-to-Elbows: First on a pull-up bar then on the rope. Keep arms straight.
3) 3 Rope Pull-ups: If you want safely do a rope climb, we recommend being able to do 4 strict pull-ups on the rope first.
Lacking pulling strength?
Check out ZOAR’s Pull-up Program for beginners.
Skill Requirements
If you do not have all the Mobility and Strength requirements, time spent learning skill will be much less productive. Build the basics, then layer on top.
Stick to the basics and when you feel you’ve mastered them, it’s time to start all over again, begin anew, again with the basics, this time paying closer attention.”
The biggest thing holding people back from efficient rope climbs is an understanding of the movement.
So we broke it into detailed steps. Study. Practice. Analyze. Overcome.
Listen: Developing Chest-to-Bar Pull-Ups [The Fitness Movement podcast #002]
Step-by-Step Focal Points
(1) The Mount
Jump up and grab the rope as high as possible with hands as close together as possible. Jumping decreases the total distance you have to climb the rope using your upper body.
However, if you jump high and grab with bent arms by the time you straighten your arms out you will almost be back on the ground…a total waste of energy. You are better off jumping less high and grabbing with very long arms.
Also, have the hands as close as possible to mimic hanging from a bar.
Hanging from a bar loads both sides of the body equally so for the rope climb the hand on top will tire less quickly.
(2) Knees-to-Elbows
With arms still long (don’t bend the elbows) pull the knees up to the chest. In order to get the knees even higher, you can lean back by initiating a straight arm lat pull.
This movement should feel similar to a knees-to-elbows on a bar if your hands are close together. The higher you can get your feet the less wraps you will need to climb the rope. Less wraps means faster climbs.
(3) The J-Hook
As quickly as possible find the J-Hook, the “S”-shaped wrap that allows you to put as much weight as possible onto your feet in order to give your upper body a break. You must be able to quickly and effortlessly find a ultra-secure wrap.
(4) Feet under Hips
Once you have secured the J-Hook bring your feet under your hips with legs still bent, almost like the bottom of a squat. Ideally your hands will be glued to your sternum if you wrapped high enough.
(5) Stand & Swim
Having your hips over your feet will allow you to drive with the legs rather than pull with the arms. If you are skilled at rope climbs you can let go with both hands as you stand and “swim” your hands up the rope both at once. Catch the rope as high as possible with straight arms just like in the initial mount in step one.
Repeat steps 1-5 until you reach the top of the rope.
(6) Descending
Most competitions will require you to descending to a certain point where your hands must still be in contact with the rope (often 8 or 9 ft off the ground). This is to prevent people from jumping from the top and injuring themselves.
You will likely need to release your grip and unclamp your J-Hook. Once you have both hands low on the rope (by your feet) let go with your feet and extent long. Quickly let go and drop back to the ground.
Refining Rope Climb Technique
Rope Climbs Strength Development
Other Considerations
(1) Don’t Move Slowly
Move quickly or don’t move at all (rest). Think about the rope climb like it is a snatch or a clean. You don’t try to pull slower when the bar gets heavy. You rest and then pull quickly. Same thing for the rope.
(2) Gear Up
Ropes can quickly shred your skin. Make sure you are wearing the right clothes. Especially make sure you have high socks or you have a skin guard because lots of abrasion will happen at the bottom of the shins.
(3) Both Hands
Grab the rope with two hands whenever possible. Grip is often a limiter for rope climbs, especially on thicker ropes, so minimize the amount of time you are only holding on with one hand. Implementing the “swim” in Step 5 allows for two-handed grabbing.
(4) Keep it Close
This is a principle that applies to many movements. The closer you keep the bar on a clean, snatch, or deadlift the easier it becomes. The same principle applies to the rope.
(5) Protect Your Ankles
The most common ‘injury’ during rope climbs is rope burn. Frankly, there is no excuse for this. Keep high socks and a shin guard or neoprene knee sleeve in your gym bag in case rope climbs come up in a workout.
Legless Rope Climbs
Two Ways to Kip
There are two ways to generate vertical momentum with the hips (aka. a kip) and maximize upper body muscular endurance.
The first is a side-to-side kip, which is the more traditional way to perform a legless rope climb and the version we see most elite athletes doing. In this variation, the the majority of the time climbing is spent with one hand on the rope.
I often use kip starts and two pull kip starts to teach the timing of the side-to-side kip.
The second variation is a front-to-back kip, which is a good variation for athletes who lack upper body pulling strength, but allows them to still move through reps, albeit much slower. In this version, the majority of the time under tension is with both hands anchored on the rope.
Two Ways to Descend
Typically athletes will establish a J-Hook to use as a brake prior to lowering in the legless rope climb. Some top athletes prefer to use a rear-entry J-Hook, which allows you to stay upright more easily while sliding.
However, another option is not establishing a lock on the lower. A no lock lower is often much faster and therefore it makes a great racing tactic, although it takes quite a while to get comfortable with & learn to perform safely.
Top Accessory Exercises
Specific Strength (Vertical Pulling)
• Legless Rope Climbs (this also taxes your grip much more)
• Hand-over-Hand Sled Pull (use a thick rope to hit your grip more)
• Strict Pull-Ups; on Climbing Rope
• Strict Chin-Ups with Slow Lower (Also try it supinated, palms in)
Hip & Ab Strength (Midline)
• Hollow Holds (the best starting place)
• Seated L-Sit Raises (or) L-Sit Holds (this also challenges mobility)
• Hanging Knee Raise (or) Hanging Leg Raise (Level I and Level II)
• Strict Knees-to-Elbows (or) Strict Toes-to-Bar (Level I and Level II)
General Pulling Movements (Horizontal)
• Rope Pull-to-Stand
• Ring Rows (a fantastic way to build pulling volume and stamina)
• Ring Row Hold at Chest (mimics position of Chest-to-Bar very closely)
• Supinated Barbell Bent Rows (palms facing you)
• Chest-Supported Rows (neutral grip)
• Inverted Row; Bar in Rack
Straight Arm Pulling Strength (Lats & Shoulder Flexion)
• Straight Arm Ring Row (another great transfer drill to Muscle-Ups)
• Banded Lat Row (also great for deadlifts and Olympic lifting)
• Lat Activation Drill (great for any pulling gymnastics movement)
• Strict Knees-to-Elbows; on Climbing Rope
Bicep Strength Movements (Elbow Flexion)
• Barbell Curls (supinated grip specifically)
• Banded Bicep Curls (great for terminal elbow flexion strength)
• Dumbbell Hammer Curls (hits forearm & bicep)
Grip Strength
• Dead Hang (several hang of 60-90s in great for not only grip but shoulders)
• Plate Pinch (involves the thumb more than other grip exercises)
• Farmer’s Carry (or) Suitcase Carry
Still have issue with grip strength?
First you need to self-assess whether the issue is technical or muscular. What I mean is just because you are losing your grip doesn’t mean that your grip is the issue. If you are moving very slowly up the rope and pulling arm-over-arm each time you reset your j-hook, this issue is not your grip but your technique. The good new is as you focus on your technique, your grip strength will improve.
If you believe your main issue is technique and your failing grip is a symptom, you should focus on two things:
1) Learn to move quickly or not at all.
2) Stand and swim with both hands at the same time.
If you are believe you are mainly limited by grip strength, you are probably right if you wall into two categories of people:
1) You an an athlete who can’t climb the rope because you are afraid you will lose your grip (or) when you do climb your hands slide.
2) You are an athlete who has fairly polished technique and you find yourself taking longer rest times due to grip fatigue not elevated breathing.
Gymnastics Density for the Big Five (12-Week Program)
Are your gymnastics movements holding you back from reaching your potential?
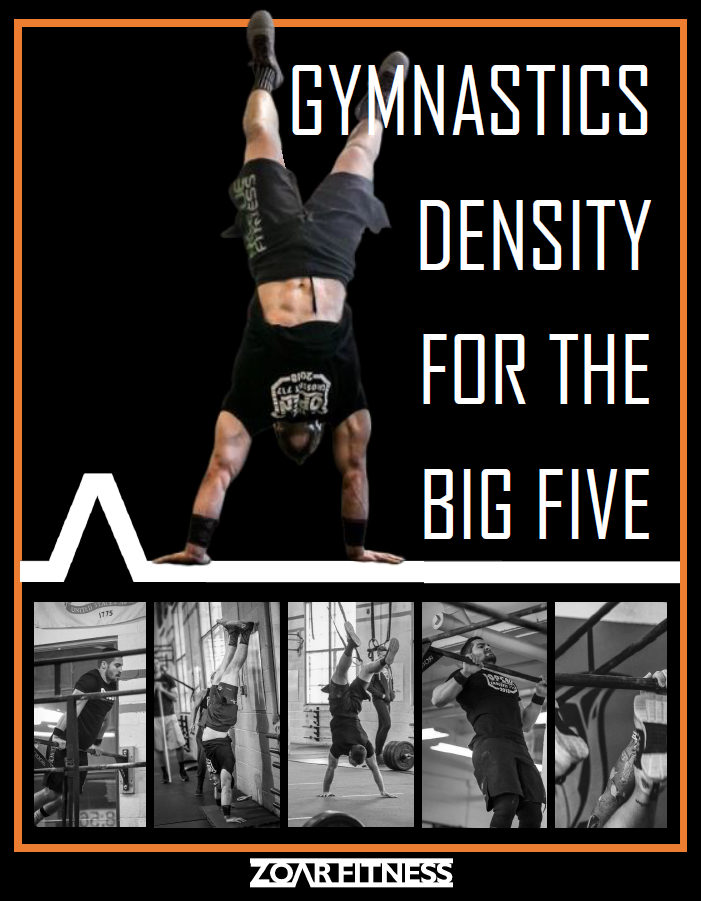
Statistics show five movements are far and away the most likely to show up in local competitions and online qualifiers like the Open. That’s why this program focuses on improving “The Big Five.”
1) Muscle-Ups (Bar & Ring)
2) Handstand Push-Ups
3) Handstand Walks
4) Toes-to-Bar
5) Chest-to-Bar
If your capacity in these movements is holding you back from taking your fitness to the next level, this program is for you!
Also in the Movement Library: Pull-Ups & Chest-to-Bar Pull-Ups